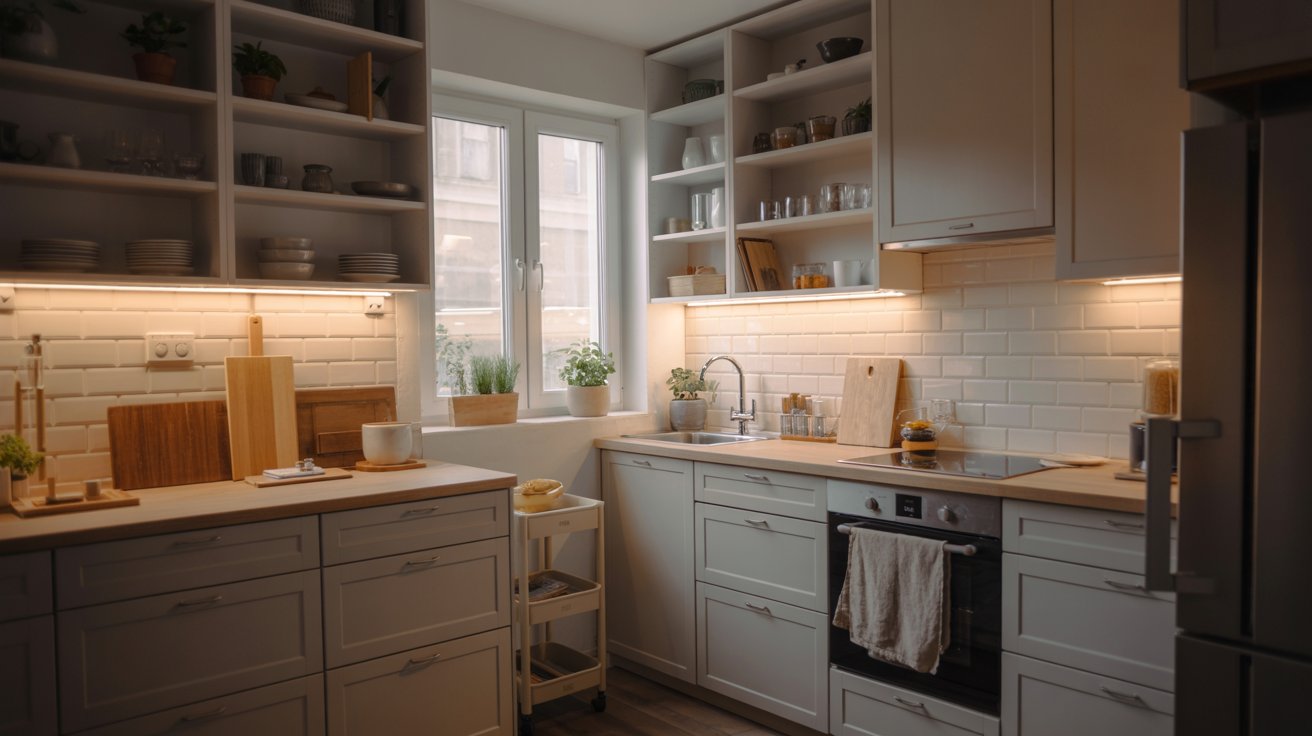
1. Modular Cube Shelving Mounted Vertically for Extra Storage
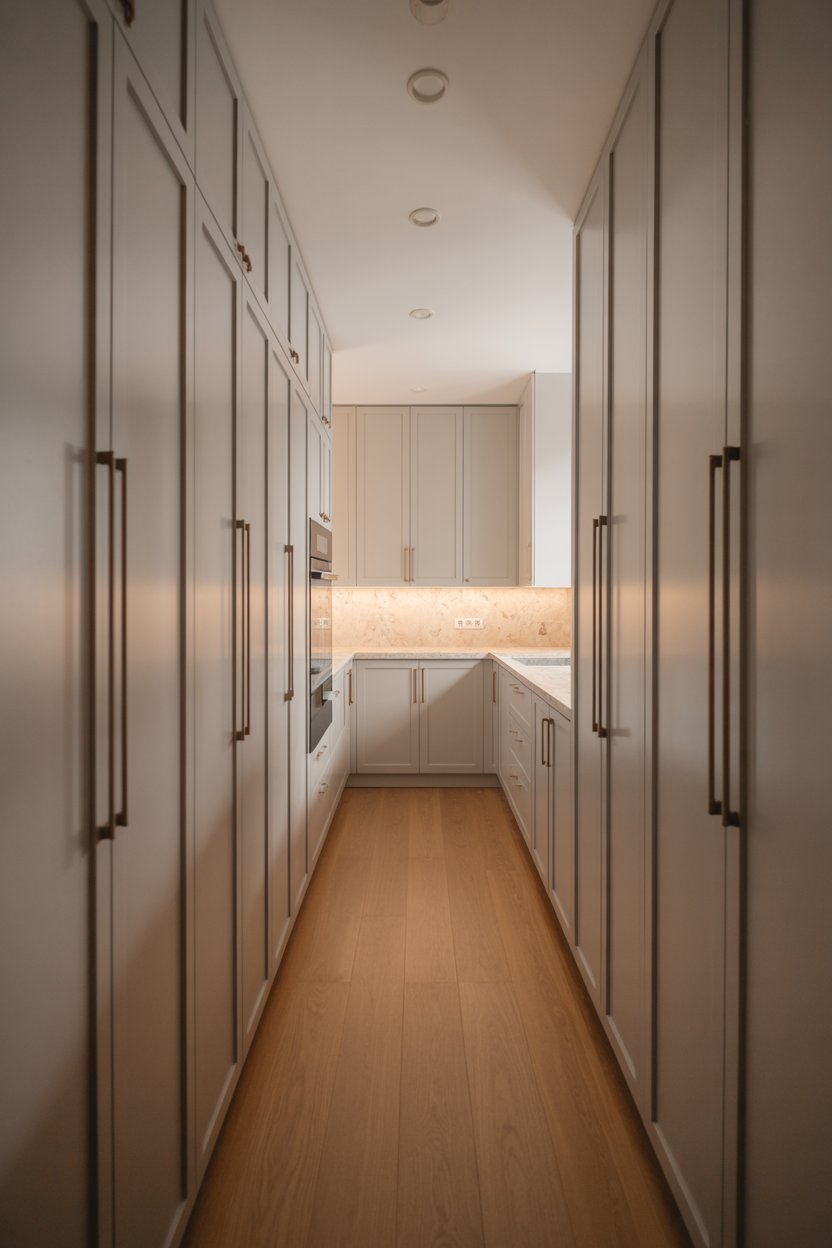
When floor space is scarce in a compact kitchen, drawing the eye upward with vertical storage is the number one trick to making the room feel twice as large. Mounting an affordable four-cube or eight-cube modular shelving unit vertically on an empty wall or awkward alcove reclaims previously wasted vertical height, transforming bare drywall into an organized architectural pantry.
To execute this hack, secure the modular cube frame directly into wall studs using heavy-duty L-brackets for rock-solid stability. Paint the unit in crisp white or a soft greige that matches your wall color to create a built-in look. Fill the cubbies with matching glass dry-goods canisters, ceramic bowls, and woven bins for kitchen linens. **Cost & Difficulty:** \$45–\$80; Easy (1–2 hours). **Why It Expands Space:** It eliminates bulky floor furniture while drawing the eye upward to emphasize ceiling height.
2. A Rolling Cart Used as Flexible Extra Counter Space
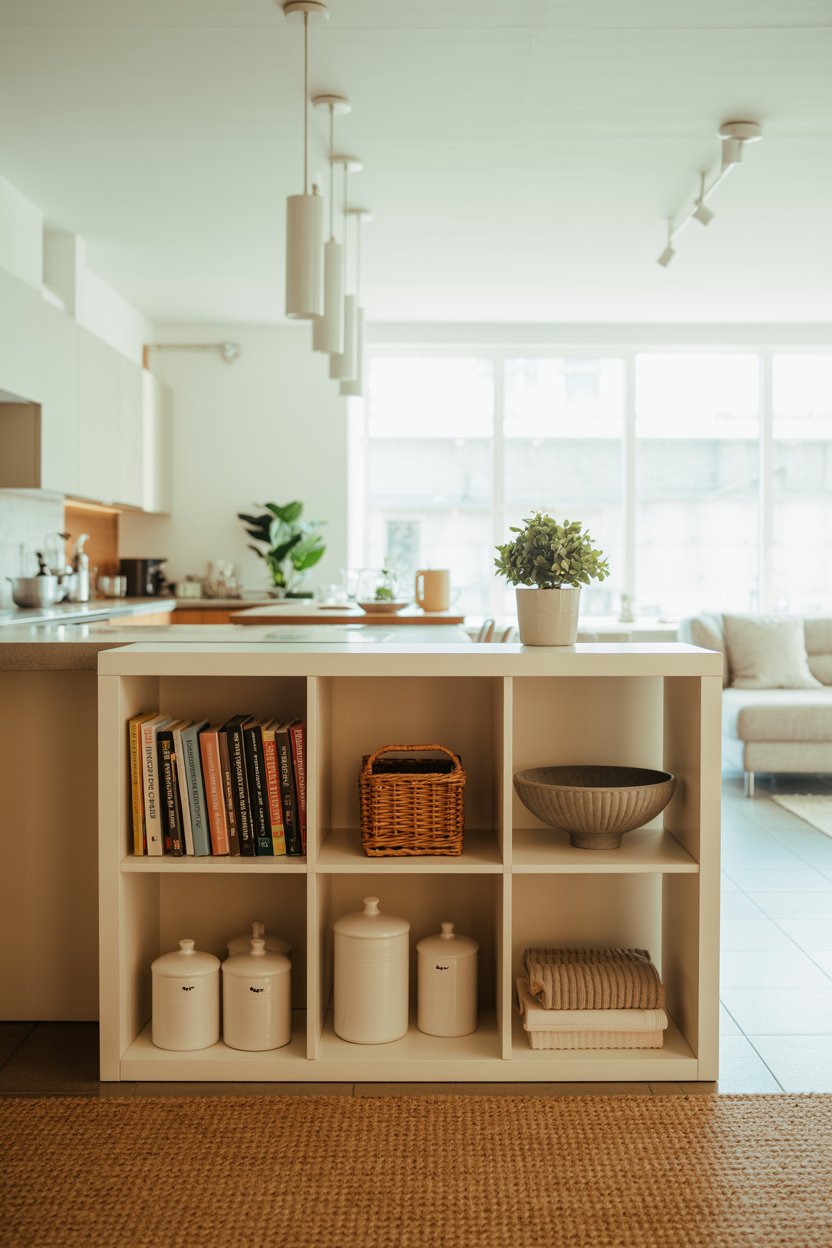
Lack of food prep counter space is the single most common frustration in small apartment kitchens. An affordable three-tier metal rolling utility cart delivers an ingenious, mobile work surface that can be customized to function as an auxiliary prep island, coffee bar, or baking station on demand.
To upgrade the cart, fit a custom-cut thick hardwood butcher block cutting board across the top metal tray, securing it with rubber bumper pads. Use the top wooden surface for chopping vegetables and staging ingredients, the middle tier for daily oils and seasonings, and the bottom wire basket for root vegetables or mixing bowls. When cooking is complete, simply roll it into a pantry closet or corner. **Cost & Difficulty:** \$35–\$60; Very Easy (30 minutes). **Why It Expands Space:** It provides on-demand counter space without permanently crowding narrow walkways.
3. Open Shelving Units Installed for a Lighter, Airier Feel
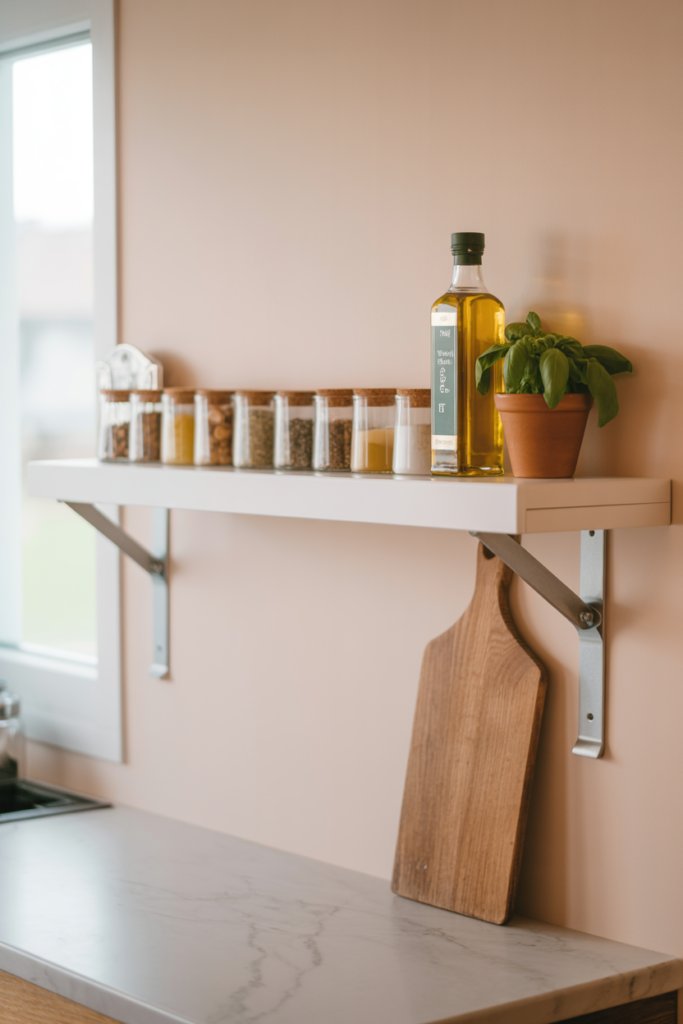
Heavy, dark upper cabinets can make a narrow kitchen feel claustrophobic and cave-like. Replacing a row of bulky upper wall cabinets with slender, open floating wall shelves instantly opens up sightlines, bounces natural window light deeper into the room, and gives compact kitchens a bright, breezy Scandinavian café vibe.
Mount solid birch or pine floating wall shelves using heavy-duty hidden steel mounting brackets rated for dinnerware loads. Keep the display intentional and clutter-free by grouping everyday essentials—like white ceramic plates, clear drinking tumblers, and matching coffee mugs—within arm's reach of the sink or dishwasher. **Cost & Difficulty:** \$30–\$60 per shelf; Easy (1–2 hours). **Why It Expands Space:** Removing closed boxy cabinets opens up horizontal sightlines and makes wall planes feel wider.
4. A Small Bookcase Converted Into a Narrow Walk-In Style Pantry
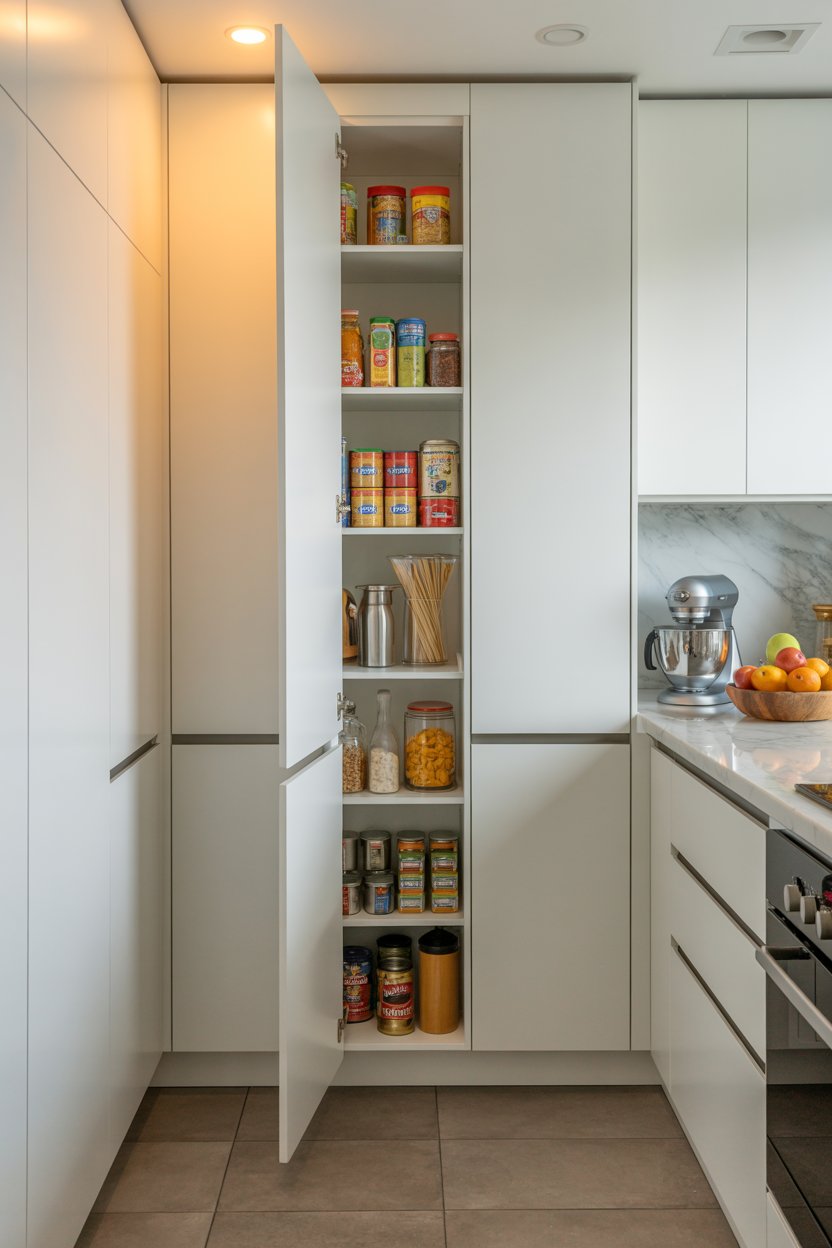
Kitchens without a dedicated pantry often suffer from overflowing countertops and overcrowded base cabinets. An affordable, ultra-shallow flat-pack bookcase—typically only 11 to 12 inches deep—can be transformed into a high-capacity pantry that fits flush against an unused hallway wall or kitchen corner without protruding into the room.
Anchor the tall bookcase firmly to wall studs and install adjustable shelves tailored precisely to the heights of your cereal boxes, canned goods, and snack jars. Add custom shaker-style door fronts or full-length cabinet doors to conceal pantry packaging, and install magnetic door catches. Label clear airtight food containers on interior shelves for a streamlined look. **Cost & Difficulty:** \$70–\$130; Moderate (2–3 hours). **Why It Expands Space:** Its shallow depth stores dozens of pantry items in vertical space without stealing floor room.
5. Wall-Mounted Rail Systems for Hanging Utensils and Pans
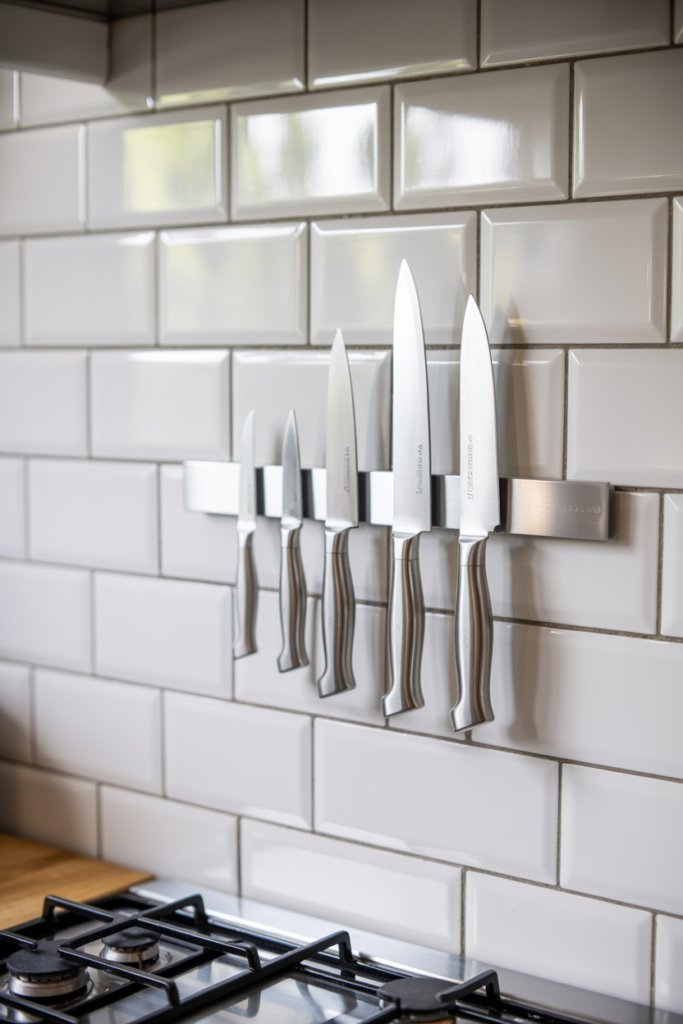
Drawers overflowing with bulky spatulas, ladles, and tongs are a major source of kitchen friction. Installing a stainless steel or matte black wall rail system along your backsplash or behind the stovetop turns unused vertical wall space into an efficient, professional chef's workstation that keeps countertops entirely clear.
Mount a heavy-duty metal wall rail directly into tile backsplashes or drywall using masonry anchors. Attach S-hooks to suspend stainless measuring spoons, tongs, silicone spatulas, cutting boards, and small non-stick frying pans. Adding a magnetic knife strip right alongside the rail keeps chef knives safely stored and instantly accessible. **Cost & Difficulty:** \$15–\$35; Very Easy (45 minutes). **Why It Expands Space:** Clearing bulky utensil crocks off work surfaces frees up valuable prep real estate.
6. A Basic Kitchen Island Cart Added for Portable Prep Space
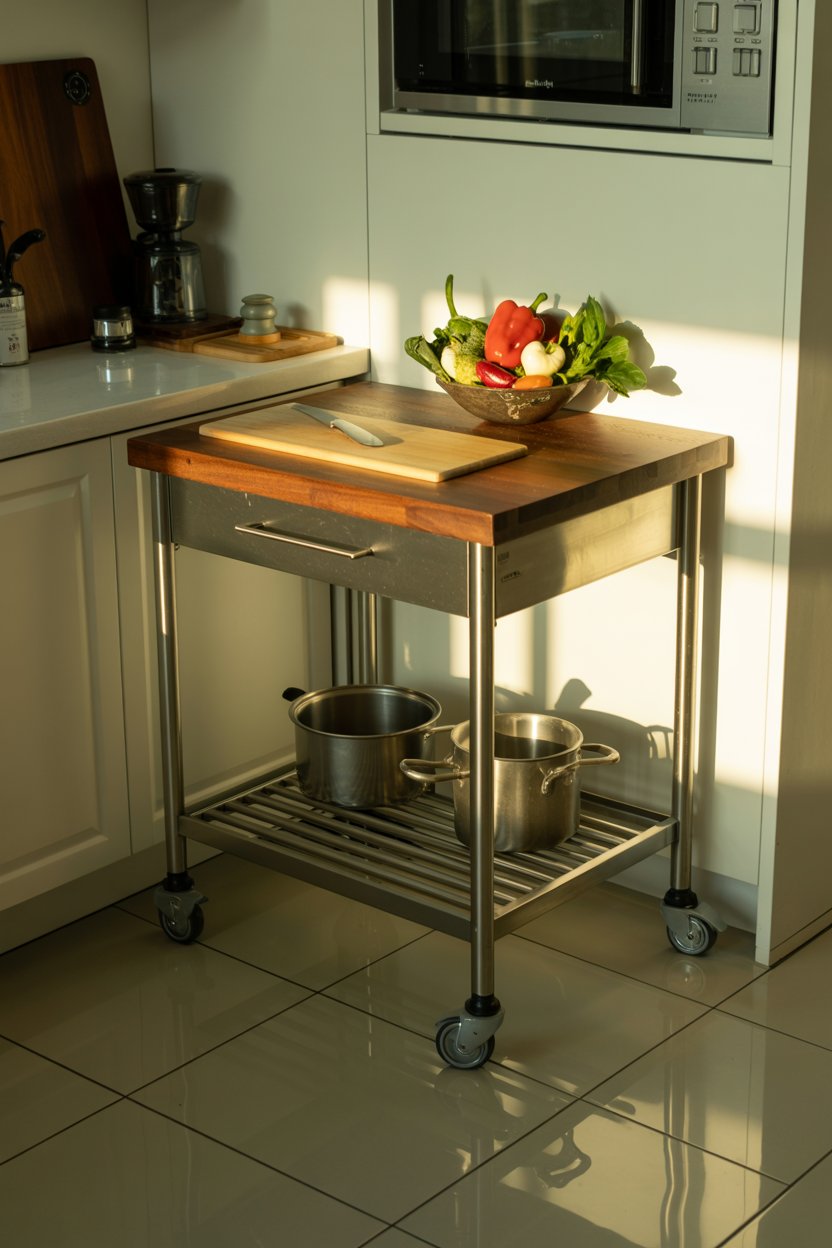
A dedicated permanent kitchen island is impossible in many small layouts, but a compact, mobile kitchen cart with a solid butcher block top delivers the benefits of an island without the permanent spatial commitment. It acts as a central prep station while cooking dinner, then rolls smoothly against a wall or into a dining nook when you need open floor space.
Assemble the solid wood island cart and treat the top with food-grade mineral oil or beeswax to create an antimicrobial cutting surface. Use the lower slatted shelves to store heavy Dutch ovens, cast-iron skillets, or a stand mixer that would otherwise monopolize precious cabinet space. Lockable caster wheels ensure rock-solid stability during vigorous chopping. **Cost & Difficulty:** \$90–\$160; Easy (1–2 hours). **Why It Expands Space:** It introduces flexible, multifunctional prep and storage that adapts to mealtime needs.
7. Under-Cabinet Lighting Strips for a Brighter, Larger Feel
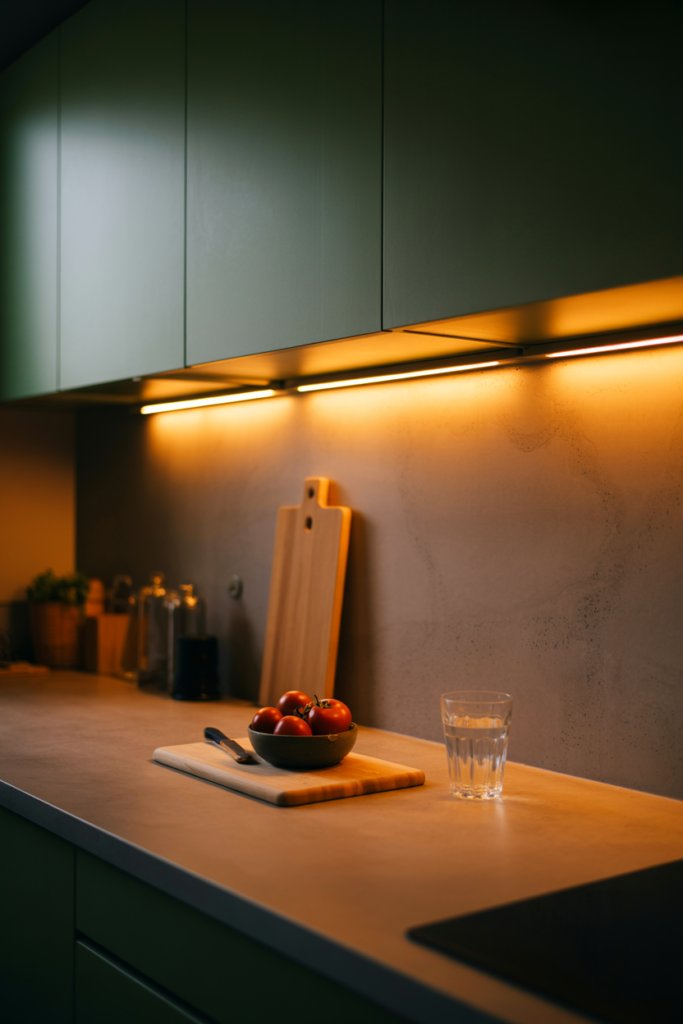
Dark shadows cast beneath upper cabinets make small kitchens feel cramped, gloomy, and visually smaller than their true dimensions. Installing low-profile, plug-in or rechargeable warm-white LED light bars beneath your upper cabinetry floods your countertops in crisp, glare-free light, dramatically enhancing visual depth and making prep work safer and more enjoyable.
Select ultra-slim LED tape light strips or modular puck lights with a warm 2700K to 3000K color temperature. Adhere the lighting strips along the underside front lip of your upper cabinets using heavy-duty adhesive backing, concealing wires with self-adhesive wire channels. The radiant countertop wash reflects off tile backsplashes, creating the illusion of a significantly wider, more expansive kitchen. **Cost & Difficulty:** \$25–\$50; Very Easy (30 minutes). **Why It Expands Space:** Eliminating dark corners visually pushes back walls and expands perception of depth.
8. A Fold-Down Wall-Mounted Table for Dining and Prep
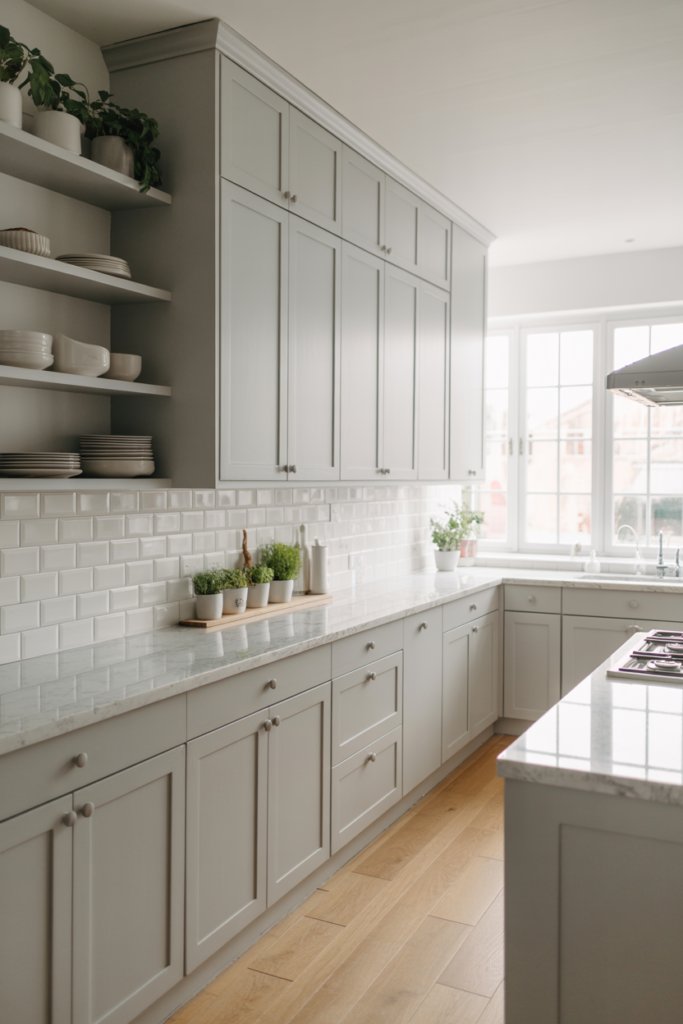
When your small kitchen cannot accommodate a traditional dining table or breakfast nook, a wall-mounted drop-leaf table is the ultimate convertible furniture hack. When folded down, it rests flat against the wall with a footprint of just a few inches; when flipped up, it locks securely in place to provide a generous dining table for two or an extra baking and pastry prep station.
Anchor the heavy-duty drop-leaf table brackets directly into two wall studs to support up to 50 pounds of weight. Pair with two stackable wooden stools that slide completely underneath or hang on wall hooks when not in use. Paint the tabletop in a soft satin color that blends into the wall to minimize visual clutter when folded down. **Cost & Difficulty:** \$40–\$75; Easy (1 hour). **Why It Expands Space:** It provides instant dining seating that vanishes when you need open floor space.
9. Modular Drawer Units Fitted into Deep Cabinet Gaps
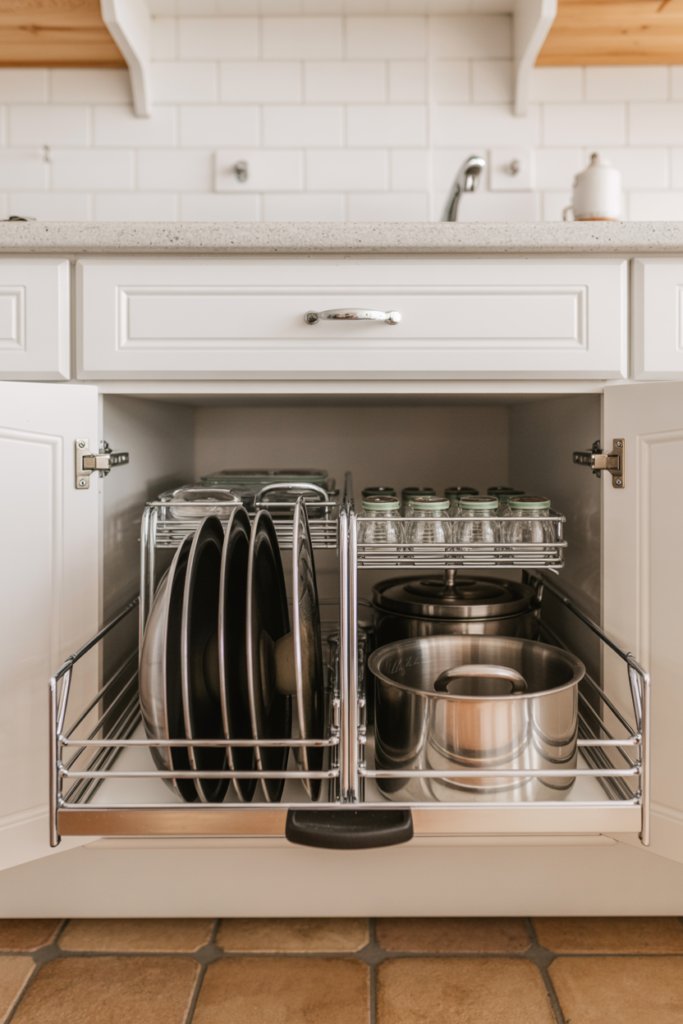
Deep base cabinets in older or budget kitchens are notorious black holes where pots, pans, and dry goods get lost in dark back corners. Fitting affordable pull-out wire drawers or modular sliding organizer trays inside existing cabinet shells transforms frustrating cave-like shelves into fully accessible, high-efficiency pull-out pantry drawers.
Measure the interior width and depth of your cabinet base and screw metal ball-bearing slide rails directly into the side walls or base shelf. Install two or three tiers of heavy-duty pull-out steel wire or solid wood drawer boxes. You can now access items stored in the very back of the cabinet with a single smooth pull, eliminating messy cabinet digging forever. **Cost & Difficulty:** \$30–\$60 per drawer; Easy to Moderate (1–2 hours). **Why It Expands Space:** It unlocks 100% of usable internal cabinet storage, clearing excess clutter off countertops.
10. A Door-Mounted Organizer for Spices and Small Jars
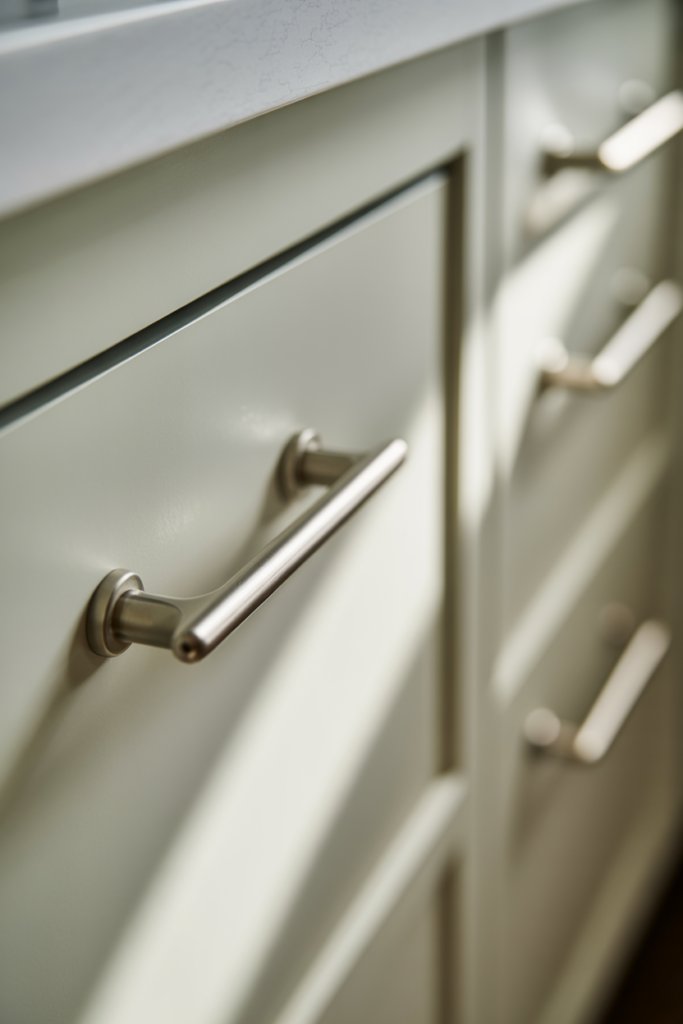
The interior backs of cabinet and pantry doors represent vast tracts of overlooked vertical storage in small kitchens. Installing an ultra-slim multi-tier wire spice rack or clear acrylic organizer caddy onto the inside of your pantry door corrals dozens of spice jars, baking extracts, and small condiment bottles in completely reclaimed space.
Use short wood screws or heavy-duty damage-free mounting strips to secure the organizer to the interior door frame, ensuring that the shelves do not collide with interior cabinet shelving when the door closes. Transfer bulk spices into uniform glass jars with minimalist labels for a clean, organized look that lets you find any seasoning in two seconds flat. **Cost & Difficulty:** \$15–\$30; Very Easy (20 minutes). **Why It Expands Space:** It frees up entire cabinet shelves and countertop corners previously monopolized by spice racks.
11. A Narrow Rolling Cart Tucked Between Appliances
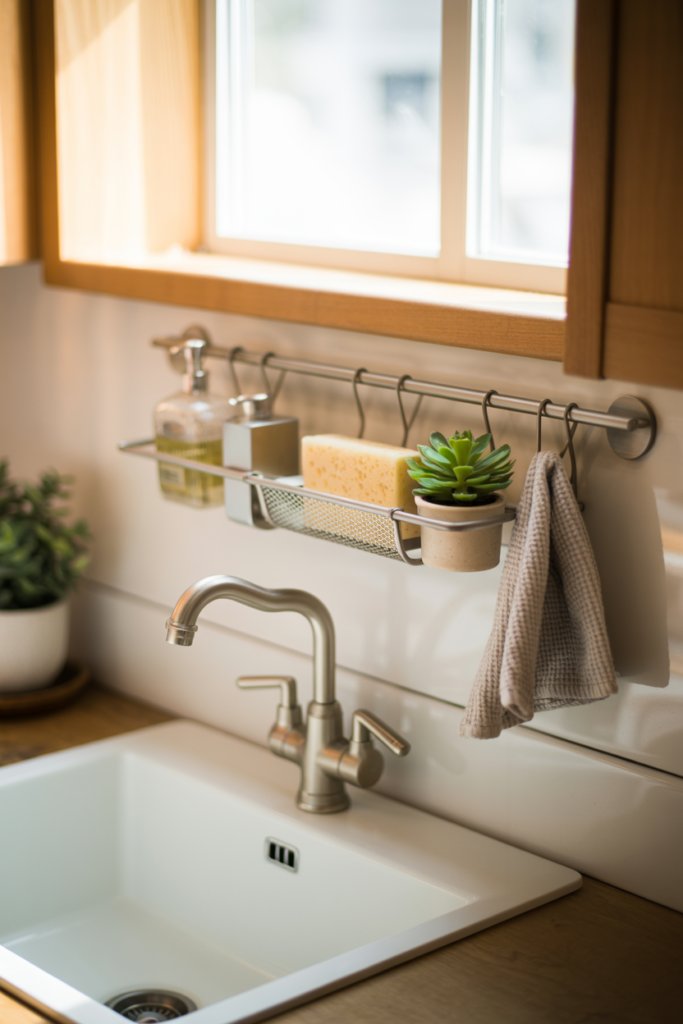
That awkward 5-to-8-inch gap between your refrigerator and the wall, or between your stove and base cabinets, is prime real estate waiting to be claimed. An ultra-slim multi-tier rolling slide-out cart slides effortlessly into narrow crevices, transforming wasted negative space into an invisible pull-out spice, oil, and cleaning supply tower.
Assemble a slim four-tier heavy-duty resin or powder-coated steel cart equipped with smooth-gliding wheels. Load the tiers with tall cooking oils, vinegars, dish soaps, and paper towel rolls. Add a discreet modern handle to the front panel so you can slide the entire tower out with one finger when cooking, then push it back into its hidden nook. **Cost & Difficulty:** \$25–\$45; Very Easy (20 minutes). **Why It Expands Space:** It turns otherwise dead, useless appliance gaps into functional, high-density storage.
12. Stackable Storage Bins to Maximize Vertical Shelf Space
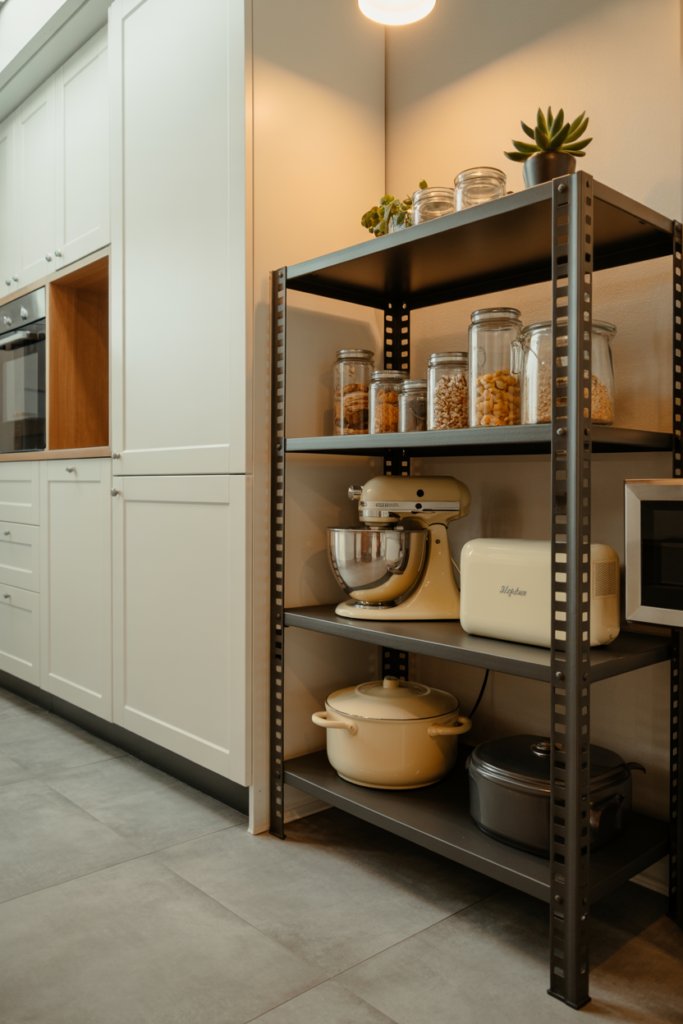
Standard kitchen cabinet shelves are often spaced 12 to 16 inches apart, leaving vast amounts of empty vertical air space above plates, cups, and canned goods. Adding affordable stackable wire shelf risers, under-shelf clip-on baskets, and modular stacking bins allows you to double the usable storage surface of every single shelf in your kitchen.
Place coated metal shelf risers over dinner plates to create a sturdy second level for salad plates and bowls. Slide under-shelf wire baskets onto higher shelves to store flat items like wax paper, foil, and cutting mats. In the pantry, use clear stacking bins with open front scoops for easy snack access without unstacking. **Cost & Difficulty:** \$15–\$35; Very Easy (15 minutes). **Why It Expands Space:** It doubles the storage capacity of existing cabinets, preventing overflow onto countertops.
13. A Simple Pegboard System for Flexible Tool Storage
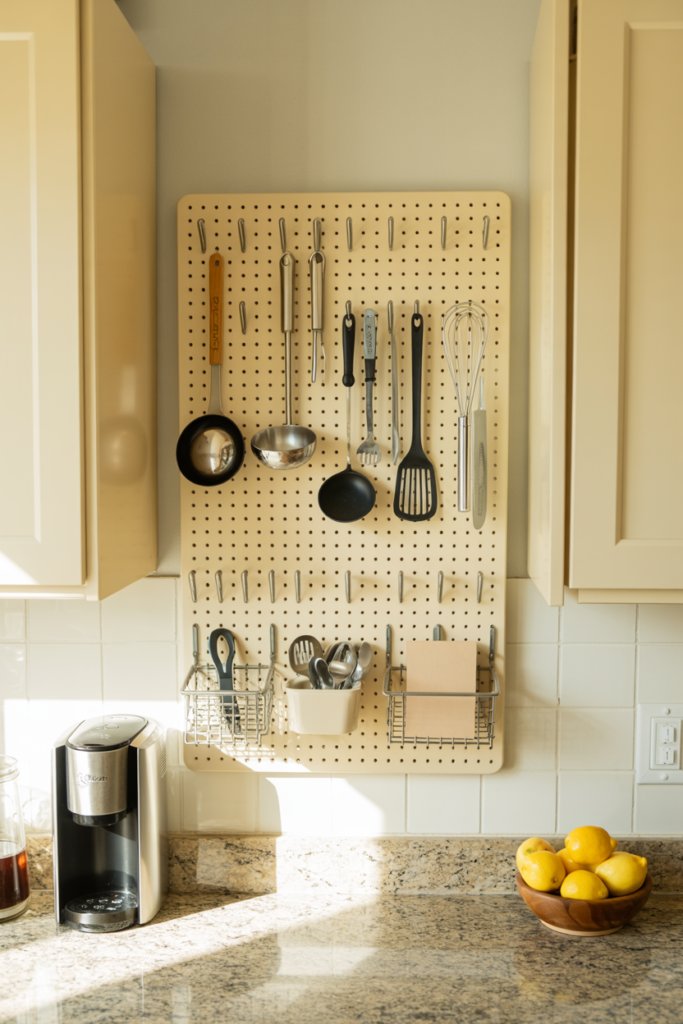
Inspired by culinary legend Julia Child's iconic kitchen, an affordable modular pegboard panel turns any bare wall into a dynamic, fully customizable culinary command center. By utilizing a grid of movable hooks, pegs, and wire baskets, you can arrange pots, pans, colanders, and spatulas in an artistic layout that adapts effortlessly as your cooking gear changes.
Mount an outdoor-rated wooden or powder-coated steel pegboard using spacers so hooks have clearance behind the board. Trace cookware silhouettes or arrange items symmetrically for a curated, graphic statement. Group frequently used everyday tools—like your favorite cast-iron skillet, wooden spoons, and kitchen scissors—at eye level for immediate grab-and-go efficiency. **Cost & Difficulty:** \$30–\$60; Easy (1 hour). **Why It Expands Space:** It shifts bulky cookware out of cluttered cabinets and displays it as functional wall art.
14. Glass-Front Cabinet Doors Added for a Visually Open Look
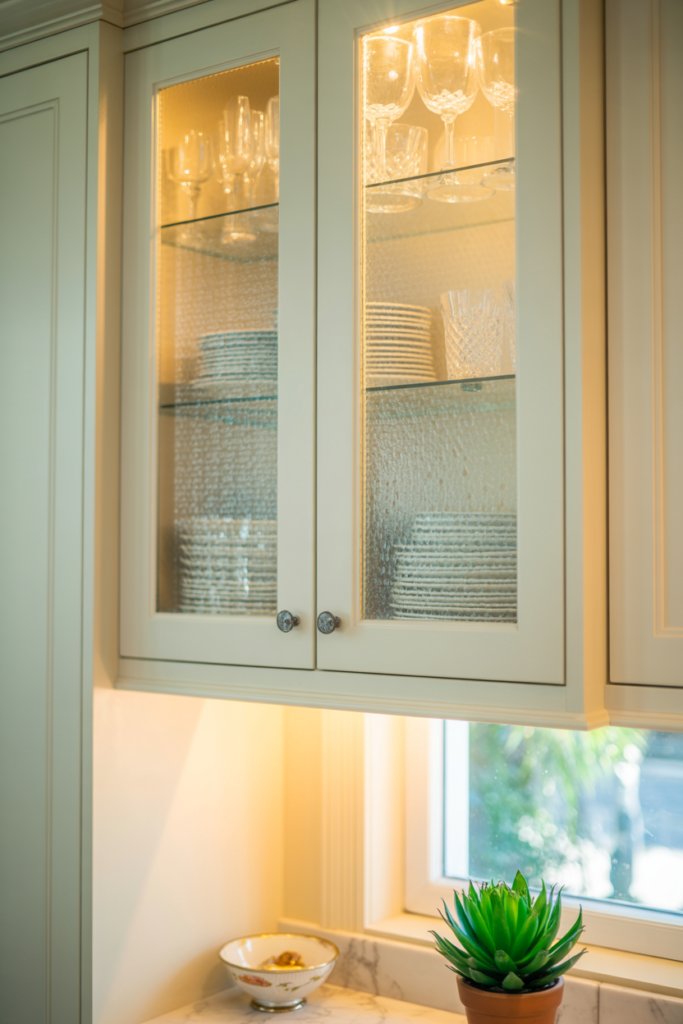
Solid wooden cabinet doors create a solid visual barrier that terminates sightlines right in front of your face, making small kitchens feel boxy and confined. Swapping solid upper cabinet door panels for sleek tempered glass or fluted glass doors creates an immediate sense of depth, transparency, and openness that tricks the eye into perceiving the room as continuing deeper past the cabinet face.
Replace standard flat cabinet doors with compatible glass-front door frames, or use a router to remove center wooden panels and insert custom-cut tempered fluted glass. Install low-voltage warm LED puck lights inside the upper cabinets to illuminate your glassware collection at night. The luminous, reflective glass fronts bounce light throughout the room, creating an upscale designer aesthetic. **Cost & Difficulty:** \$60–\$120 per door; Moderate (2 hours). **Why It Expands Space:** Transparent surfaces eliminate rigid visual boundaries, creating depth and reflecting light.
Small Kitchen Space-Maximizing Hacks Guide
| Kitchen Hack | Space Reclaimed | Est. Cost & Difficulty | Key Advantage |
|---|---|---|---|
| Vertical Cube Shelves | Empty wall height | \$45–\$80 / Easy | High-capacity pantry storage |
| Rolling Utility Prep Cart | Mobile countertop prep | \$35–\$60 / Very Easy | Flexible cutting board work station |
| Wall Hanging Rails | Backsplash & wall area | \$15–\$35 / Very Easy | Clears utensil crocks from counters |
| Shallow Bookcase Pantry | Narrow hallway/corner | \$70–\$130 / Moderate | 11-inch deep high-capacity pantry |
| Slim Gap Rolling Cart | Space between appliances | \$25–\$45 / Very Easy | Turns 5-inch gap into oil/spice rack |
Maximize Your Small Kitchen Potential
Making a small kitchen feel twice its size isn't about expensive full-scale renovations or knocking down walls—it is about maximizing vertical real estate, eliminating dead space, and choosing multifunctional storage that works with your daily routine. By introducing clever rolling carts, vertical rail organizers, pull-out drawers, and open shelving, you can turn even the most compact kitchen into an organized, joyful culinary haven.
You don't have to tackle all of these projects in a single weekend. Pick one high-impact hack—like mounting a spice rail over the sink or adding a slim rolling cart between appliances—and see how much extra breathing room it creates. Start small, get creative, and enjoy the transformative power of smart, budget-friendly kitchen design!